How WaiverForever works
You have more important things to do, that's why we made WaiverForever extremely easy to setup and use. Here's how:
Simple Setup (usually under 10 minutes)
Step 1: Register an account. (1 minute)
Visit WaiverForever Signup to signup for a new account.
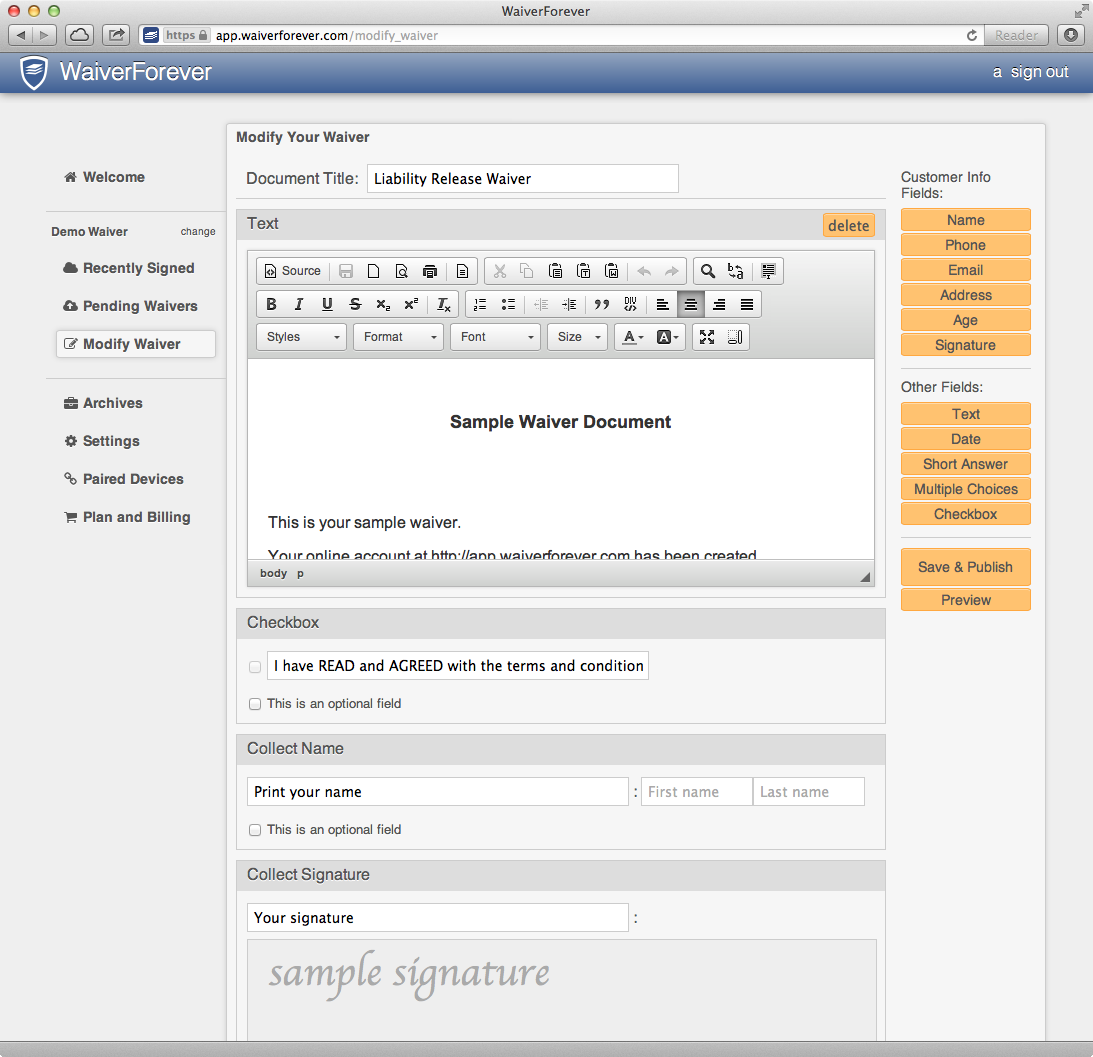
Step 2: Make an electronic copy of your current waiver. (1 ~ 10 Minutes)
By dragging and dropping pre-made input fields, you can easily make an electronic copy of your current waiver.
Step 3: Get WaiverForever running on a tablet. (1 minute)
Daily Use
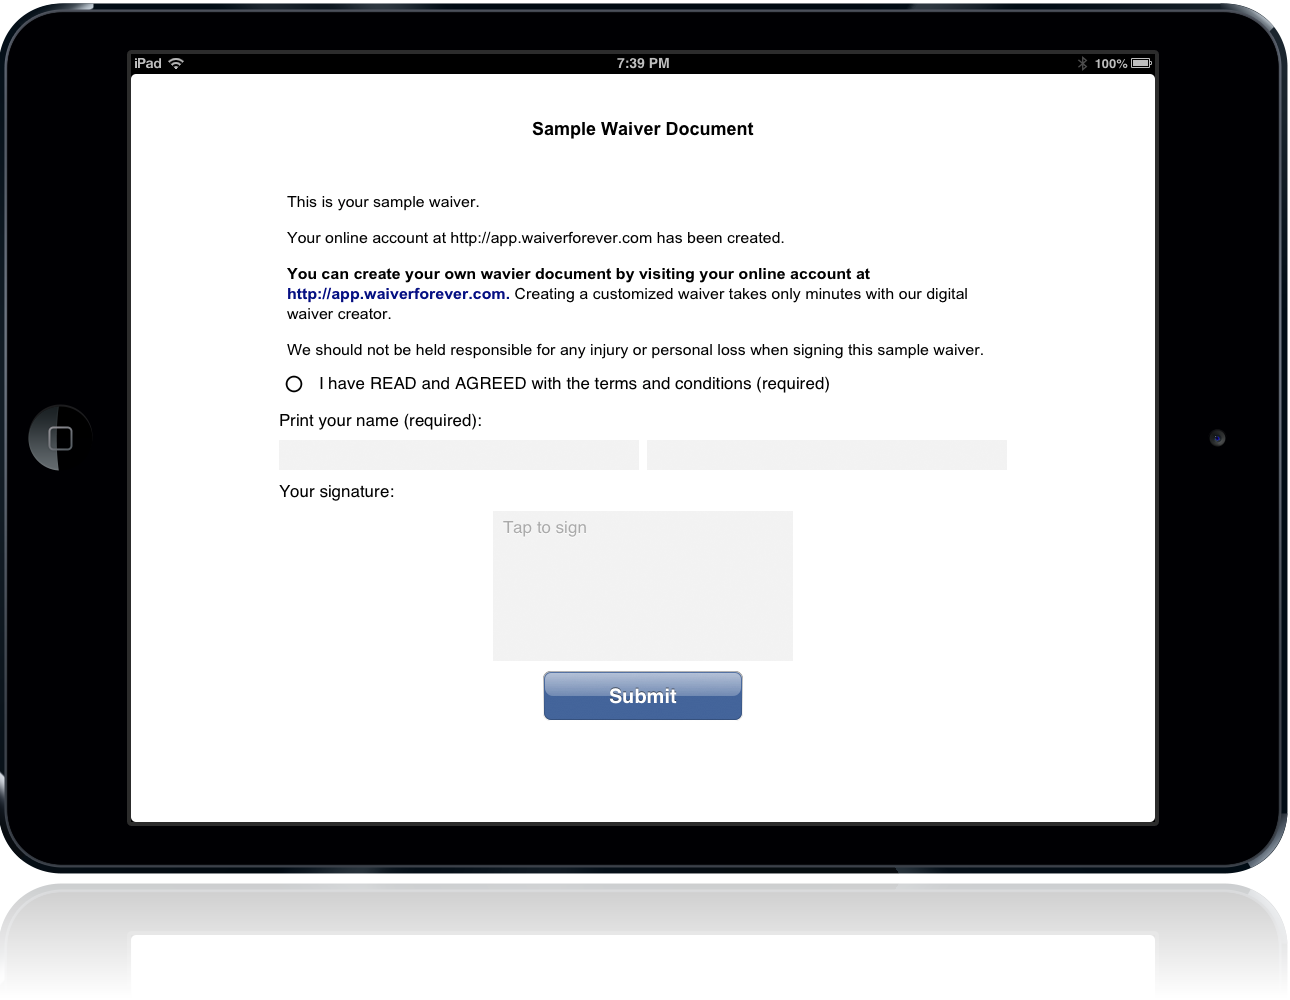
Daily use of WaiverForever doesn't take you any time: the customers fill out electronic waivers, which are uploaded instantly to your online account. You don't need to do anything, as the waivers are automatically organized and ready for print whenever you need it.
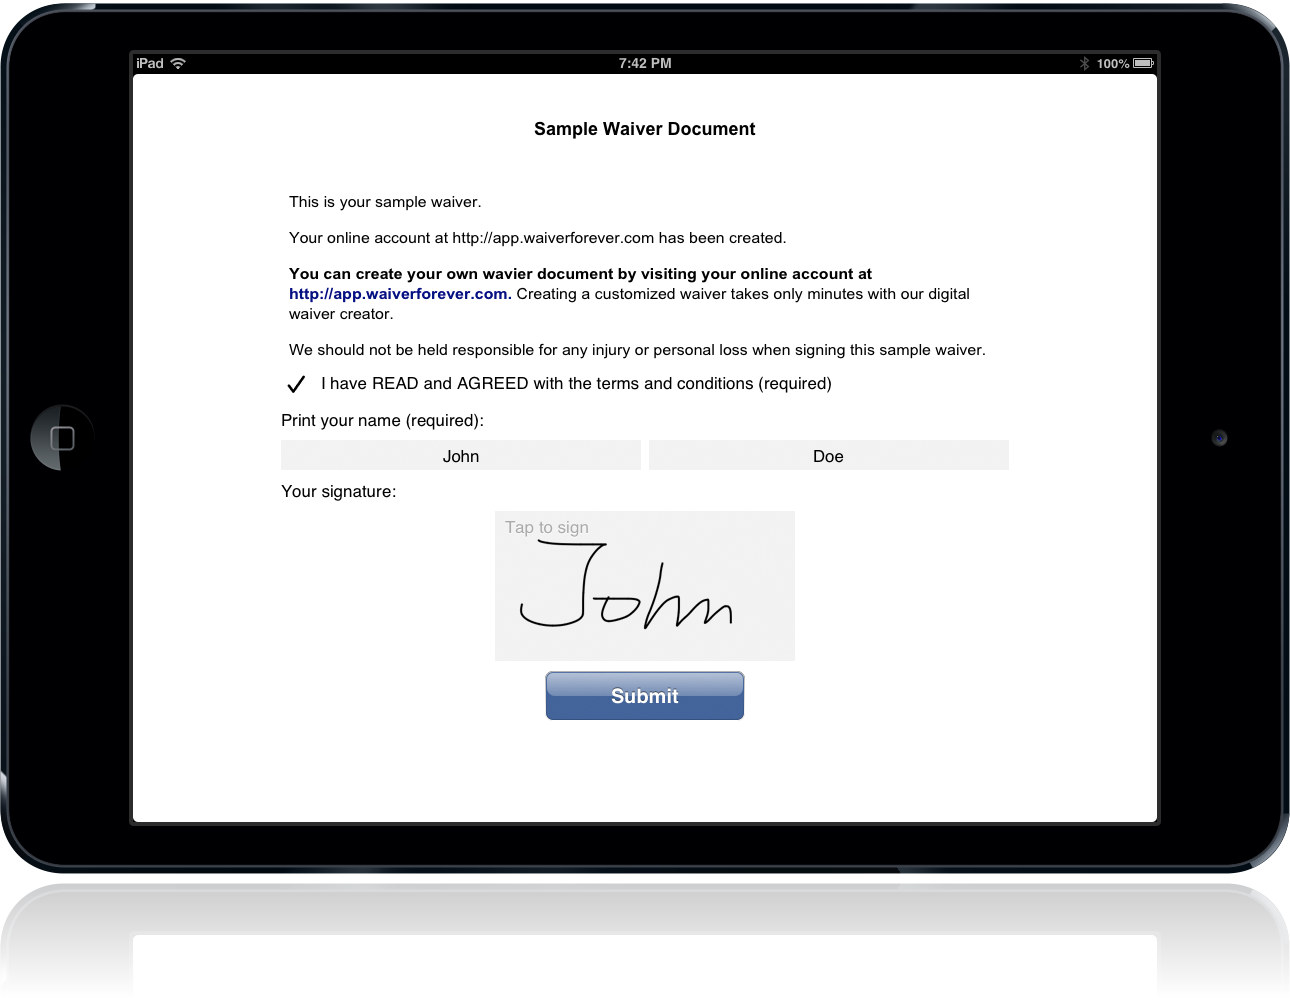
If an Internet connection is not available, WaiverForever will save the signed documents locally. It will try to upload again when an Internet connection is present, or you can force the tablet to upload by pressing the "Manual Upload" button.
Other Operations
1. Retrieve Waiver
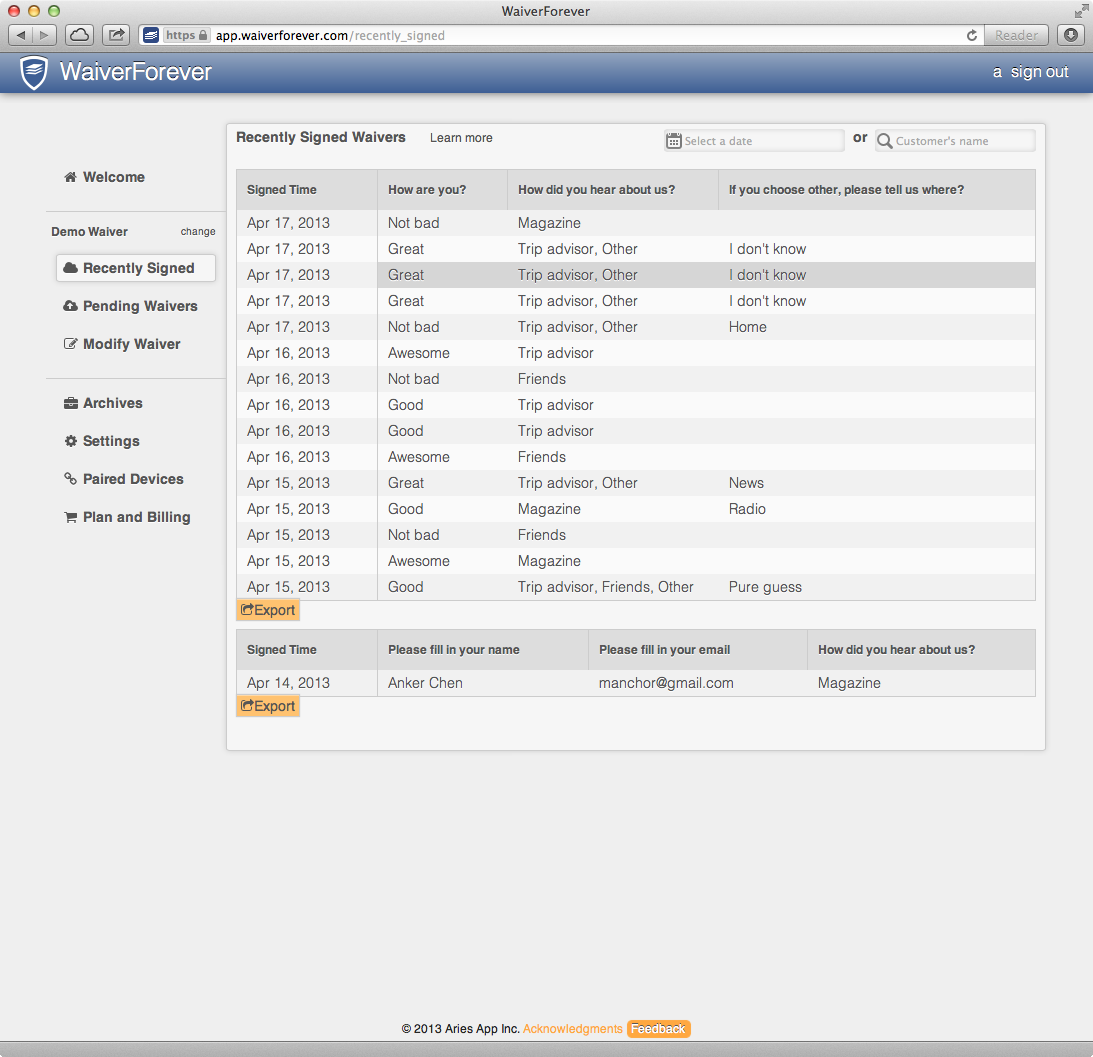
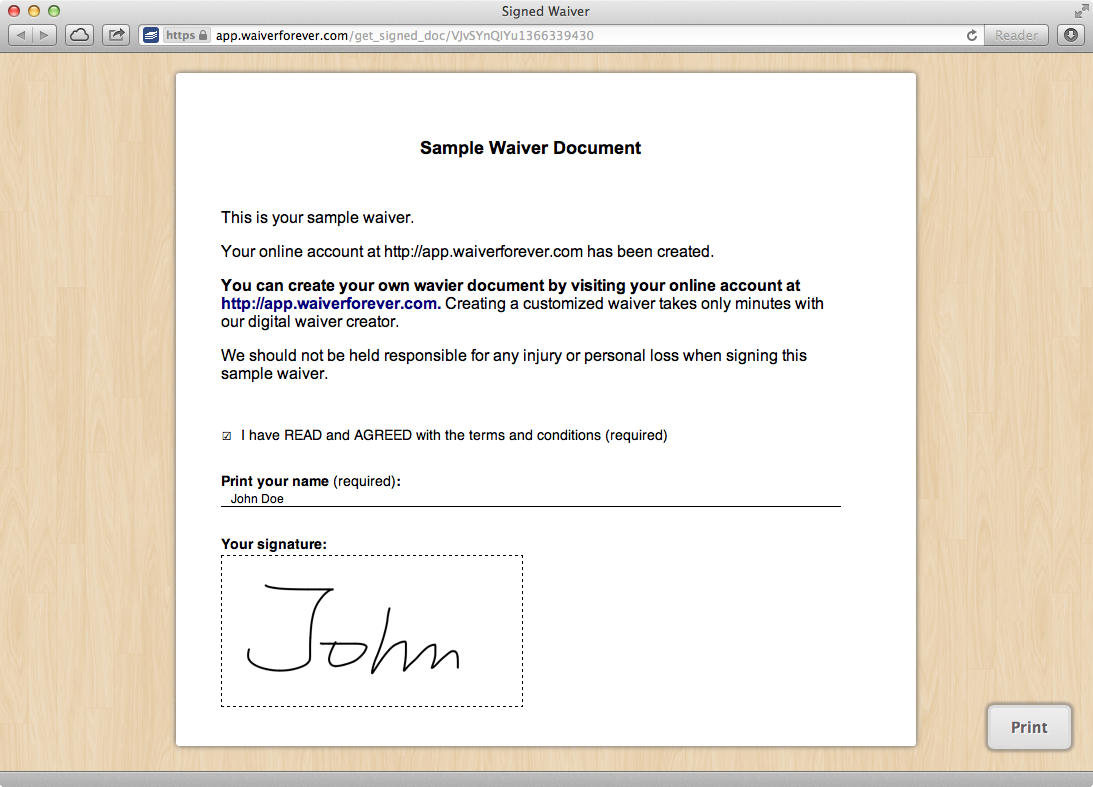
Retrieving a waiver is very easy: just type the client's name into the search box. WaiverForever is able to find the waiver in an instant. Then you can print the waiver out in a nearby printer.
2. Export Waiver data
A great way to gain insight with you business is to ask a few survey questions on your waiver. WaiverForever makes this even easier because you can export all data collected as an Excel spreadsheet. After that the possibility is limitless.
